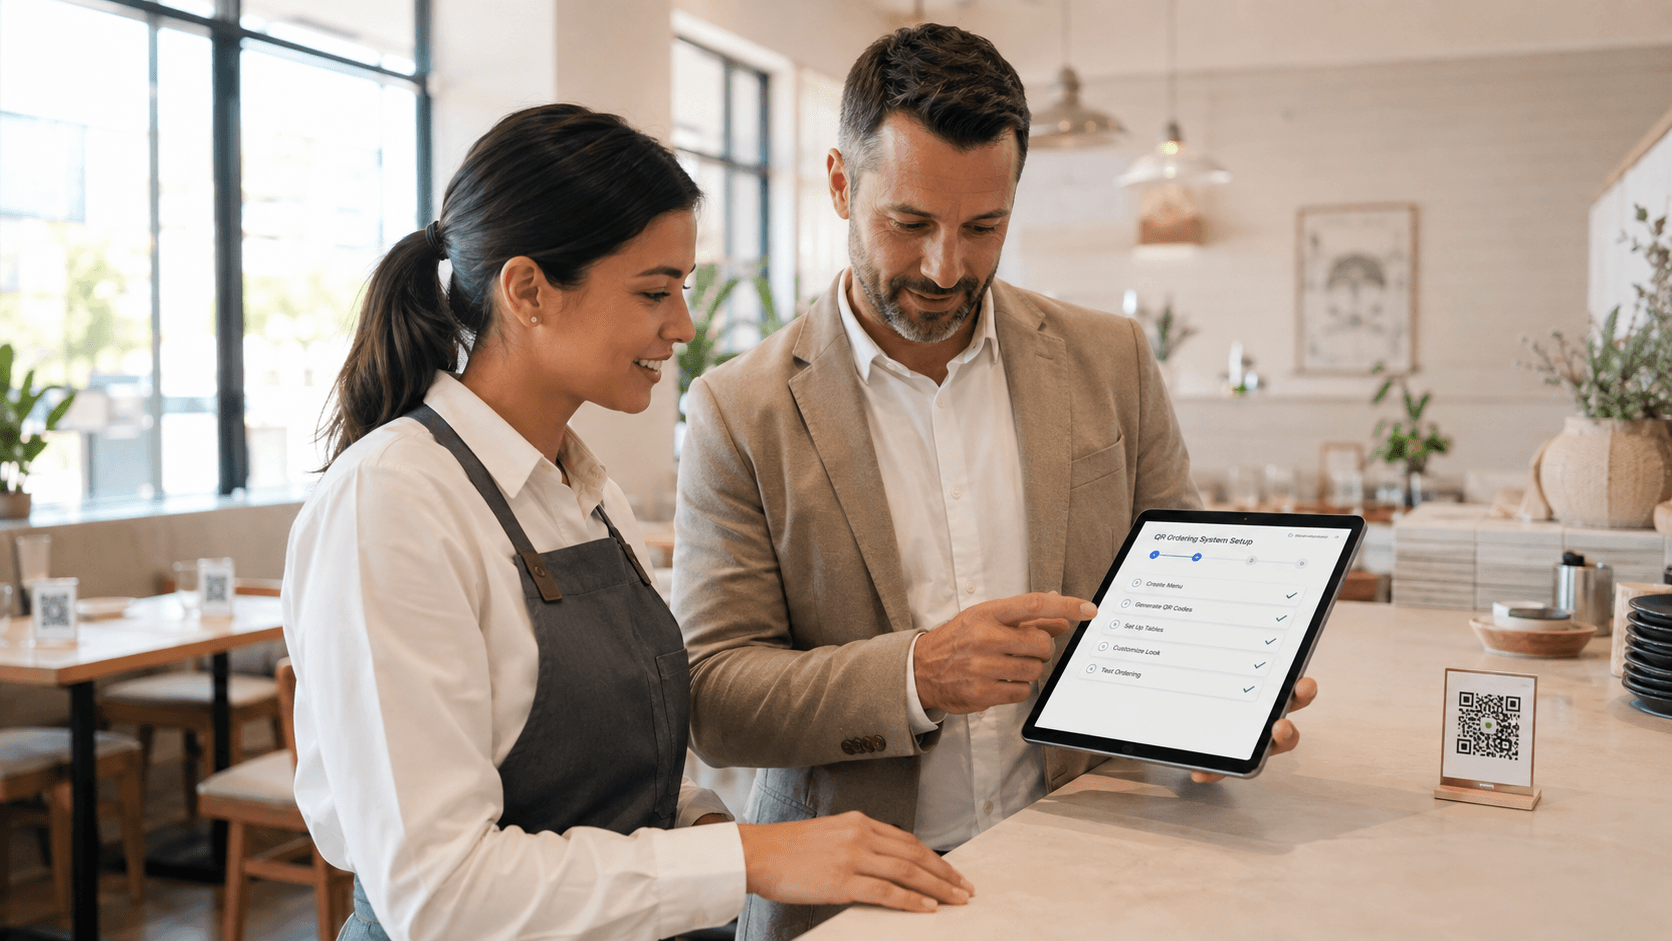
Once you’ve decided your restaurant will use QR code self-ordering, the next question is usually: where do you start? A rushed rollout without planning often leads to confused staff, frustrated customers, or a system that never gets used to its full potential. Here are the steps that typically make this transition smoother.
Step 1: Map Out Your Menu and Customization Flow
Before getting into the technical side, put together a complete list of menu items along with every variation a customer might order — spice level, portion size, extra toppings, allergy notes, and so on. This is the foundation that determines how complex the system needs to be. A menu with few variations will be quicker to implement than one with dozens of modifier combinations.
Step 2: Decide on the Payment Flow
Decide whether customers will pay directly through the self-order system (payment gateway integration like QRIS) or still pay manually at the cashier after ordering via QR. Both models are valid, but they affect the complexity and cost of the system you build.
Step 3: Plan Kitchen and POS Integration
Decide whether self-ordering will stand alone or fully integrate with your existing POS and kitchen system. Full integration is more efficient long-term (avoiding re-entering orders), but requires more careful technical planning upfront — especially if your existing POS comes from a different provider.
Step 4: Design a Clear Digital Menu
Make sure the digital menu clearly shows photos, descriptions, and categories — ideally tested by people outside your team (not just staff who are already familiar with it) to confirm the flow is genuinely intuitive for first-time users.
Step 5: Set Up QR Codes and Their Placement
Place the QR code somewhere easy to reach but not intrusive (usually in the middle of the table or near seating), with brief instructions on how to scan and order for customers who aren’t familiar with it yet.
Step 6: Train Staff for Transition Scenarios
Even though self-ordering reduces the burden of taking orders manually, staff still need to know how to help customers struggling with the system, how to handle additional orders that come through a different flow than before, and how to monitor incoming order notifications during the transition period.
Step 7: Run a Limited Trial Before Full Rollout
Before rolling out to every table or outlet, try running it on a few tables or during specific hours first. This helps catch small issues (internet connectivity, confusing flow, and so on) before they affect the whole operation.
Step 8: Gather Feedback and Adjust
After a few weeks of running, gather feedback from staff and customers — are there recurring difficulties, menu items that keep getting ordered incorrectly, or features that turned out to be needed but aren’t there yet?
Common Mistakes to Avoid
- Rolling out to every table at once without a limited trial first
- Not training staff for scenarios outside the normal flow (such as customers without a smartphone)
- A digital menu design that’s too cluttered or complicated to navigate
- Not ensuring stable enough internet coverage across the whole restaurant area
Conclusion
Implementing a QR code self-ordering system works best in stages — starting from mapping requirements, running a limited trial, and adjusting based on real feedback. Restaurants that take the time to plan properly usually go through a much smoother transition than those that roll it out across the whole operation all at once.
TalosDev helps map out requirements and design a QR self-ordering implementation that fits your restaurant’s workflow. Get a free consultation for your needs.